It's that candy-making time of year, and everybody loves caramels, but you don't always want a million pieces! This small batch recipe makes enough chewy homemade caramels for you to enjoy a little and share a little but not have more than you know what to do with.
Jump to:
Why You'll Love This Recipe
- Makes only 60 homemade caramel candies instead of hundreds of pieces!
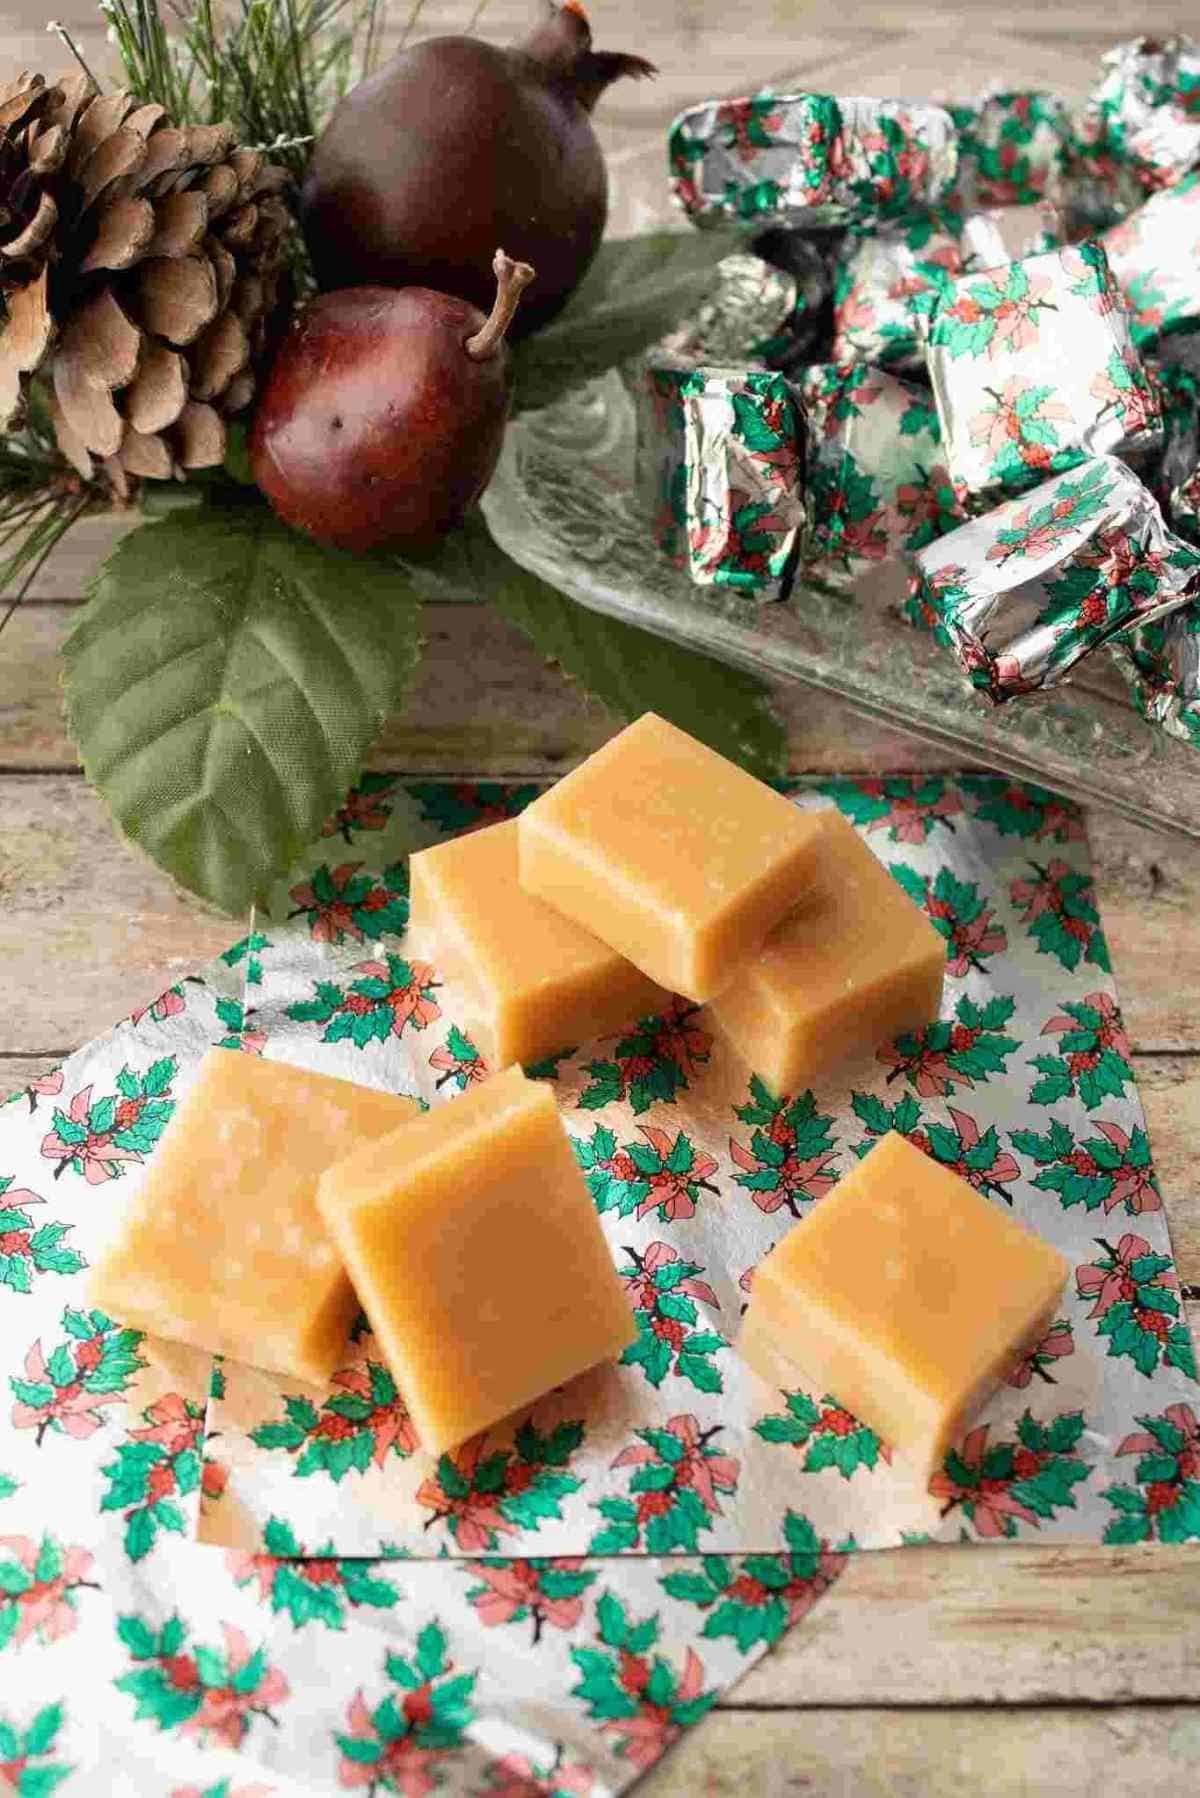
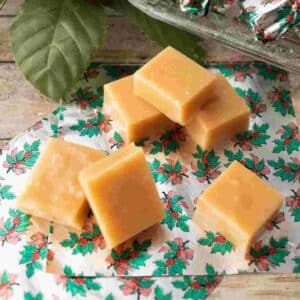
- Chewy caramel that is still soft but holds its shape!
- Makes the perfect gift this holiday season for family, friends, and neighbors!
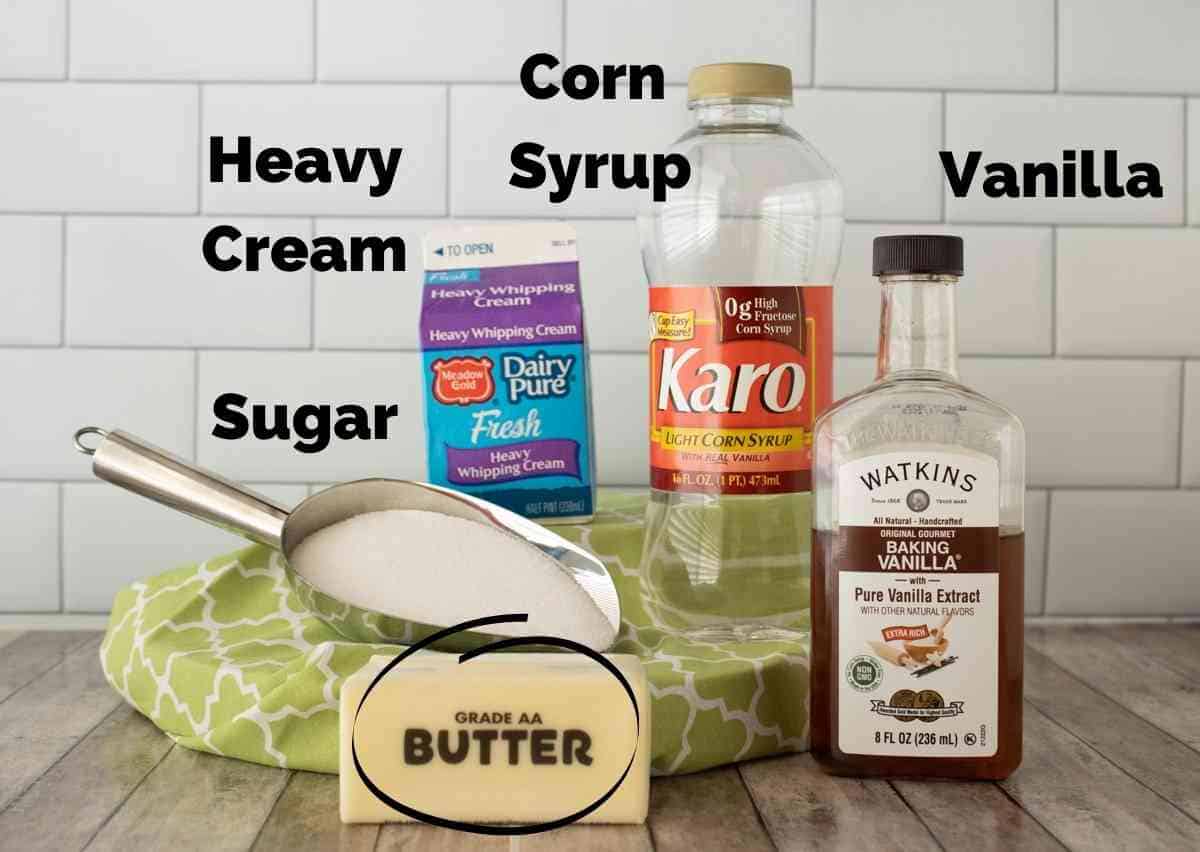
Ingredient Notes
- Light Corn Syrup - I know many people want to substitute something for corn syrup; however, candy recipes are not the place to swap ingredients like that out. So, yes, you must use light corn syrup (not dark corn syrup) for this recipe.
- Butter - It doesn't matter whether you use unsalted butter or salted butter, but it does matter if you use butter. Please don't substitute anything for the butter.
- Heavy Cream - Do not substitute milk, evaporated milk, or sweetened condensed milk for the cream.
- Sugar - This recipe uses white granulated sugar. Don't substitute brown sugar.
- Chocolate - Feel free to dip the caramel squares or drizzle them with dark chocolate!
- Salt - For a salted caramel variation, sprinkle the hot caramel once it's poured in the baking pan with coarse sea salt or sea salt flakes.
- ⅛ Sheet Pan - For this recipe I highly recommend an ⅛ size (10 x 7 x 1 inches) baking sheet . It is half the size of a 9x13 pan. I use mine ALL the time. It's the perfect size to reheat stuff or cook small amounts of food. I totally recommend them! I use this little pan way more than I ever thought I would, but if you don't want to buy one, you can use a bread loaf pan. It will just make the caramels thicker, so when you cut them up, you'll be cutting them into thinner strips, and your caramels will be more rectangular shapes instead of cube shapes.
What You'll Need For This Recipe
How to Make Homemade Caramels
- Line a ⅛ size (10 x 7 x 1 inch with aluminum foil. (Make sure it's foil, not wax paper or parchment paper)
- Grease it WELL with softened butter. Seriously, butter that foils well! It's the most important part when making these caramels because getting the caramels all the way done just to find out they're stuck to the foil is the worst!
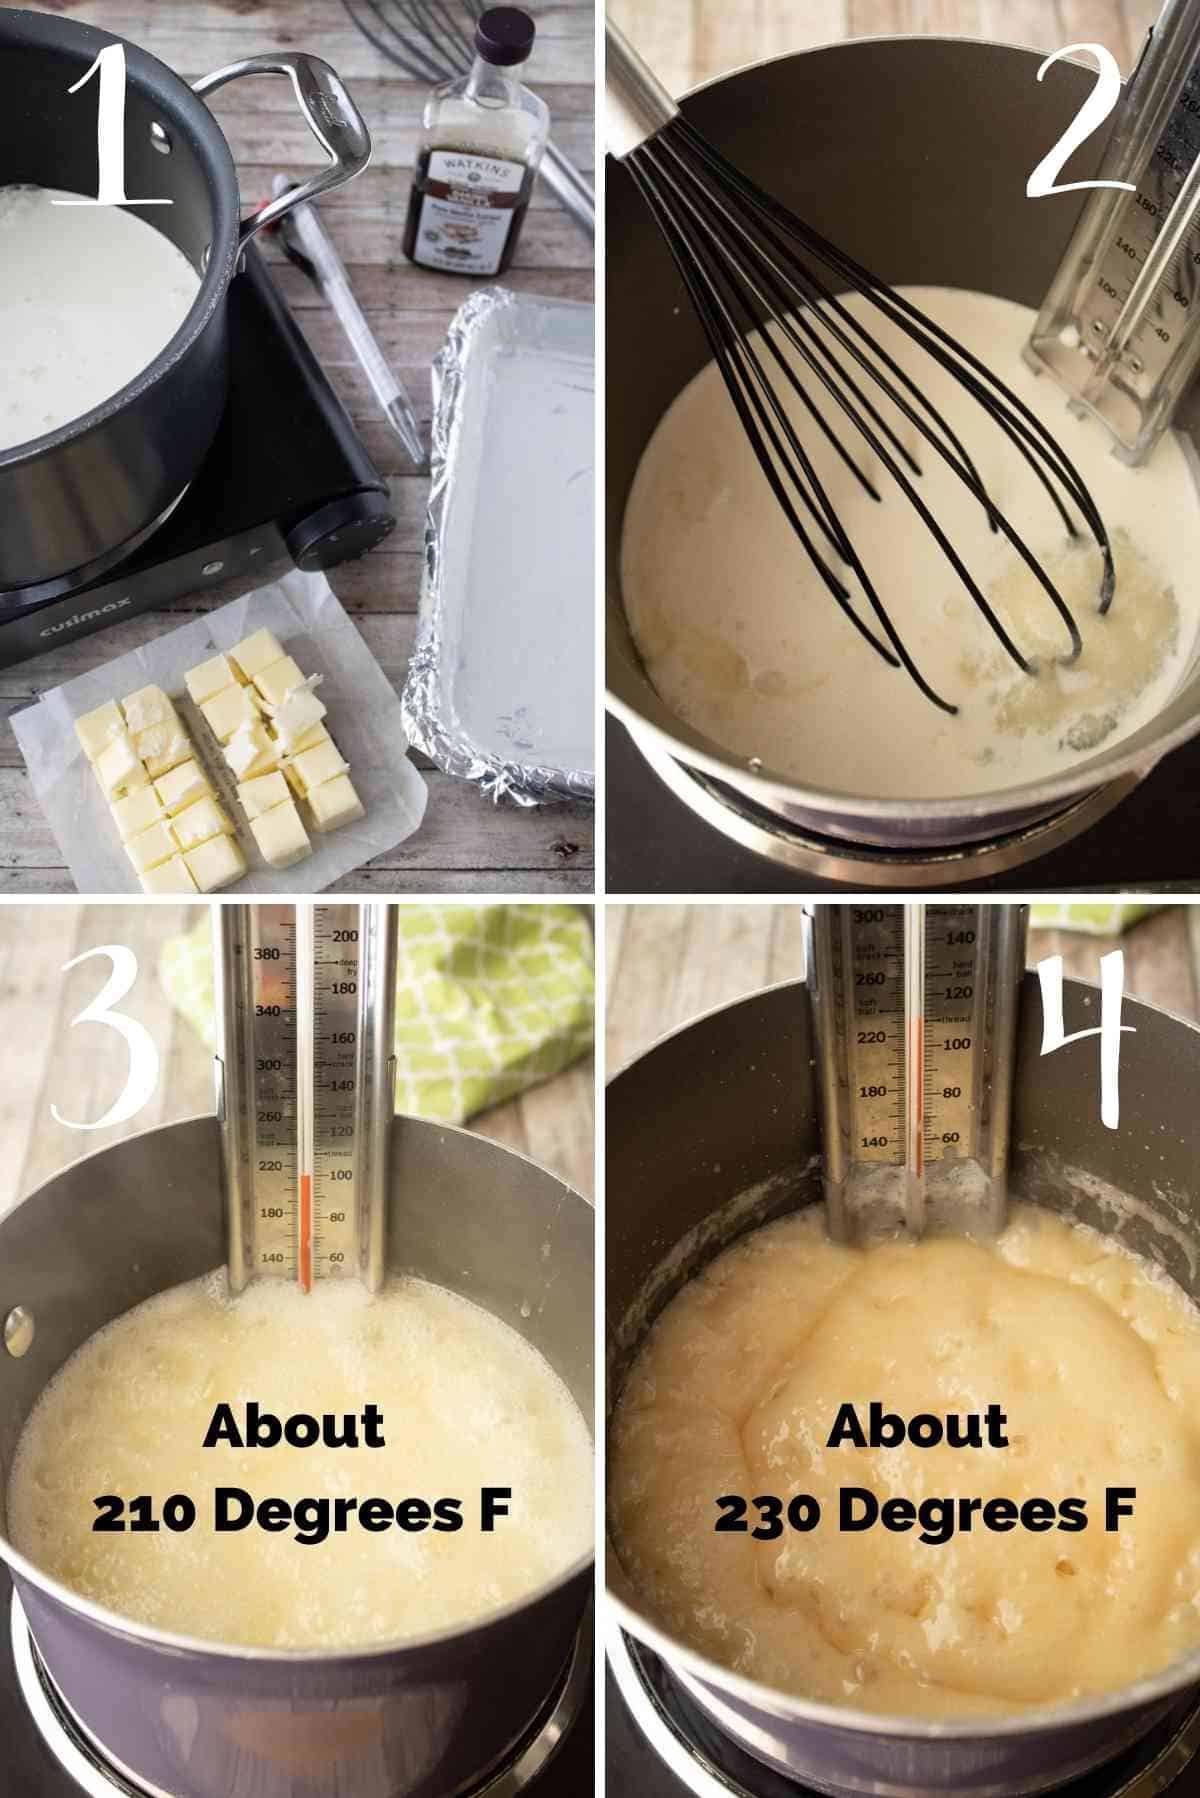
- Measure the sugar, corn syrup, and cream in a non-stick medium pot.
- Have your candy thermometer, cubed butter, and vanilla extract right there, ready to add when it's time. It's important to have the butter cubed so it doesn't cool the hot caramel so fast that it can't all melt.
- Bring the contents of your pot to a boil over medium heat, stirring here and there so the sugar incorporates and doesn't burn to the bottom of the pan.
- Once boiling, attach the candy thermometer to the side of the pan. I will be measuring temperature by Fahrenheit.
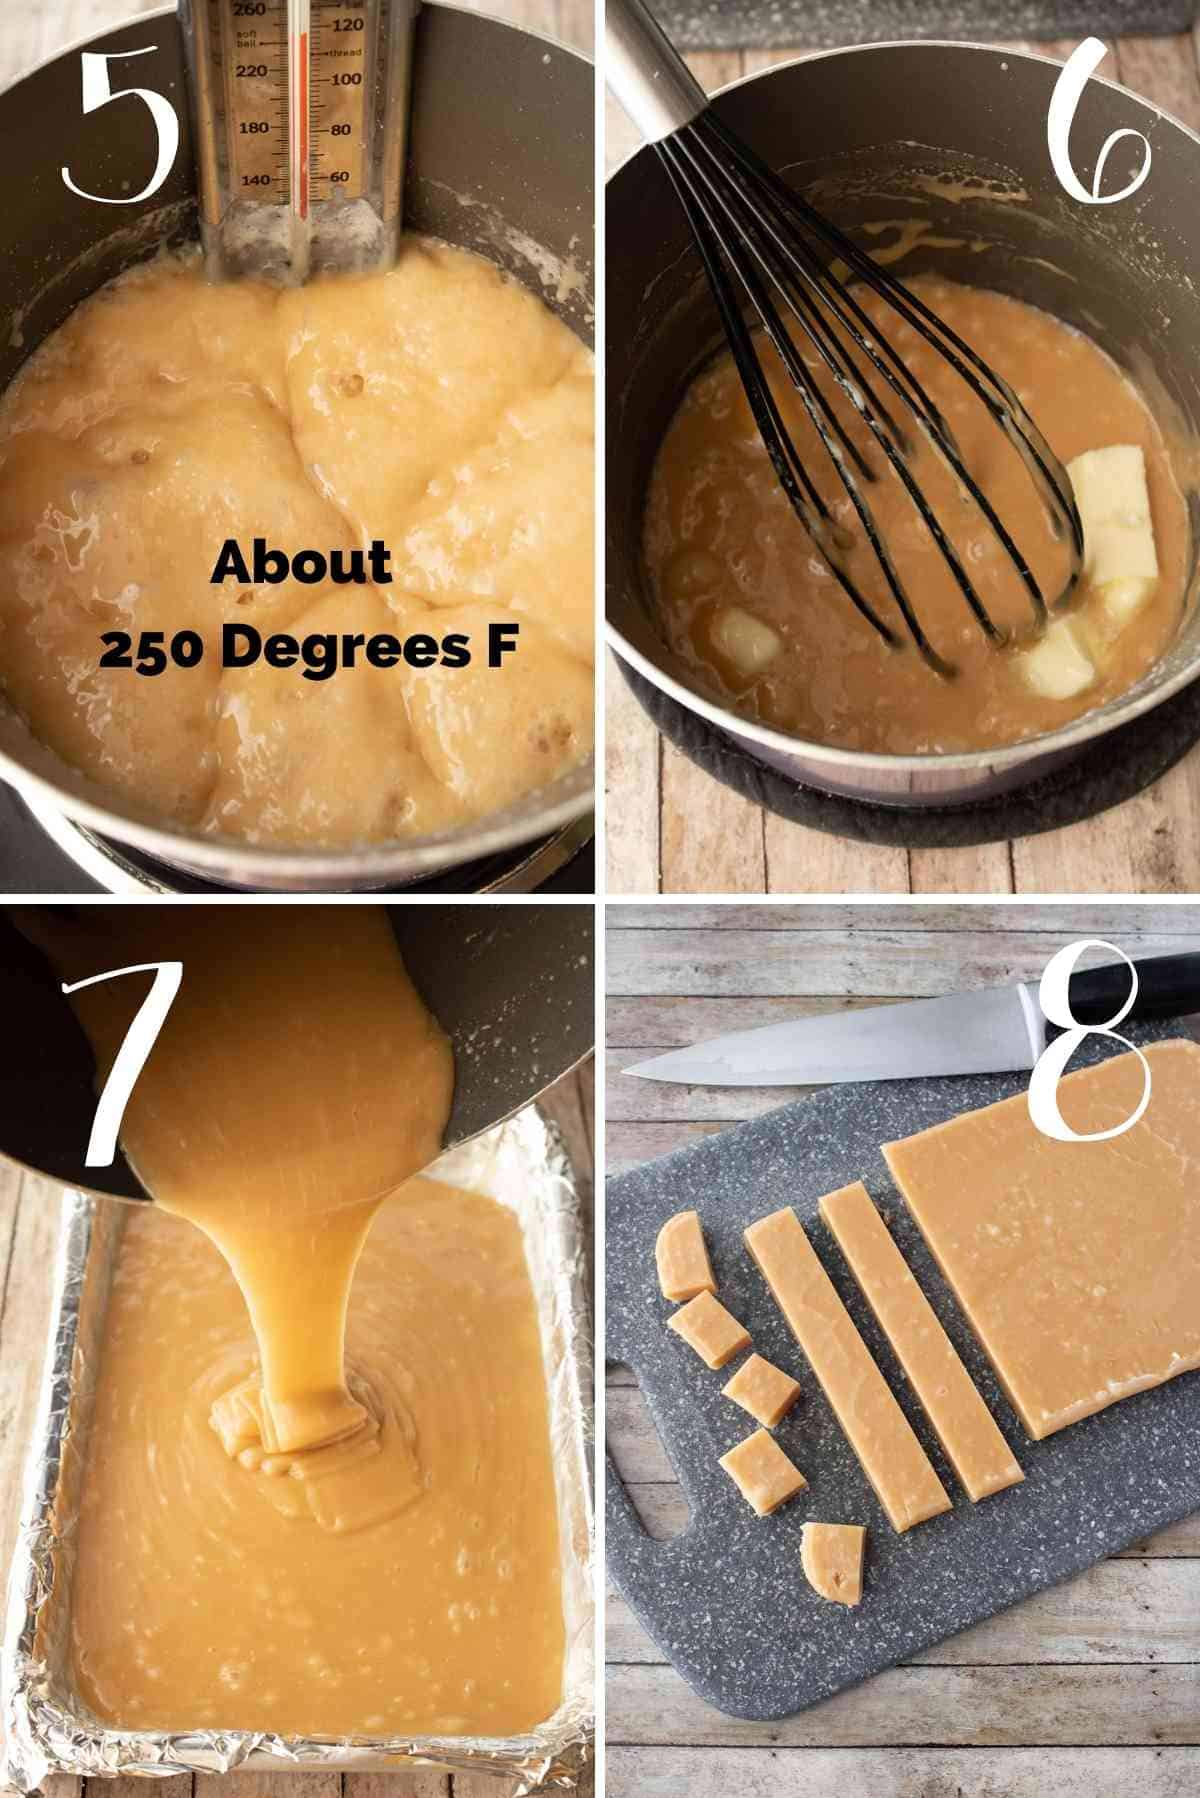
- Continue to cook the caramel until it reaches 250 degrees F. (firm ball stage) for a softer caramel or 260 degrees F. (hard ball stage) for a firm caramel.
- Continue to stir frequently, especially as the caramel gets closer to the right temperature.
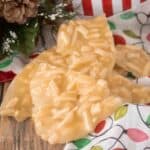
- In the pictures, you can see the difference in color as the caramel cooks. It's at about 230 degrees or softball stage that it really starts to turn that nice golden color.
- TIP If you don't have a candy thermometer, read about the cold water test here.
- TIP If sugar crystals form around the sides of the pot, you can wash sugar crystals from the side of the pot with a pastry brush dipped in water.
- Once the desired temperature is reached, remove the pot from the heat and immediately stir in the butter cubes and vanilla.
- Whisk until all the butter is incorporated. This may take a minute or so of stirring.
- Pour the caramel into the prepared pan and allow to cool to room temperature on the countertop for a few hours.
- Lift the caramel out by the foil, place it on a cutting board, and cut it into small squares using a sharp knife.
- TIP - It may be helpful to chill your caramel in the fridge just until cold to make the cutting easier.
- Wrap each caramel in a foil candy wrapper or pieces of wax paper.
- If properly wrapped, there is no need to keep them in an airtight container. A pretty candy dish is one of my favorite ways to display this homemade candy!
Recipe FAQs
If wrapped up properly, these caramels last a month or so at room temp or up to 6 months if stored in the fridge.
I always buy candy wrapping foil from a kitchen store where I live because I've had terrible luck with wax paper, and I don't want to take the time to cut up a bunch of foil. Here is an Amazon link to the exact wrappers you see in my picture. The description says that they aren't for caramels, but I've wrapped my caramels in them for 2 years in a row with no problems.
Caramels don't need to be refrigerated, but it does extend the shelf life. I sometimes pop my caramels in the fridge to get cold before I cut them up because chilled caramel is easier to cut.
For this recipe, I highly recommend a ⅛ size (10 x 7 x 1 inches) baking sheet. It is half the size of a 9x13 pan. I use mine ALL the time. It's the perfect size to reheat stuff or cook small amounts of food. I totally recommend them! I use this little pan way more than I ever thought I would, but if you don't want to buy one, you can use a bread loaf pan. It will just make the caramels thicker, so when you cut them up, you'll be cutting them into thinner strips, and your caramels will be more rectangular shapes instead of cube shapes.
Related Candy Recipes
Have you tried this recipe? If so, leave me a rating and a comment below! And don't forget to subscribe to my newsletter to get my latest recipes sent right to your email! You can also follow me on Facebook, Pinterest, and Instagram!
Small Batch Homemade Caramels Recipe
Ingredients
- 1 Cup Sugar
- ½ Cup Corn Syrup
- 1 Cup Heavy Cream
- ½ Cup Butter cubed
- 1 teaspoon Vanilla
You will also need:
- ½-1 Tbs softened butter To grease the foil in the pan.
- A candy thermometer.
- At least 60 Foil Candy Wrappers
Instructions
- Line a ⅛ size (10 x 7 x 1 inch) with foil and grease it well with softened butter.
- Put the sugar, corn syrup, and cream in a non-stick medium pot.
- Have your candy thermometer, cubed butter, and vanilla right there, ready to add when it's time.
- Bring the contents of your pot to a boil over medium heat, stirring here and there so the sugar incorporates and doesn't burn to the bottom of the pan.
- Once boiling, attach the candy thermometer to the side of the pan. Continue to cook the caramel until it reaches 250 degrees for a softer caramel or 260 for a firm caramel.
- Continually stir frequently, especially as the caramel gets closer to the desired temperature.
- Once the desired temp is reached, remove the pot from the heat and stir in the butter cubes and vanilla.
- Whisk until all the butter is incorporated. This may take a minute or so of stirring.
- Pour the caramel into the prepared pan and allow to cool on the countertop for a few hours.
- Lift the caramel out by the foil and cut into pieces using a sharp knife. It may be helpful to chill your caramel in the fridge just until cold to make the cutting easier.
- Wrap each caramel in a foil candy wrapper.
Notes
- For this recipe, I highly recommend a ⅛ size (10 x 7 x 1 inches) baking sheet. It is half the size of a 9x13 pan. I use mine ALL the time. It's the perfect size to reheat stuff or cook small amounts of food. I totally recommend them! I use this little pan way more than I ever thought I would, but if you don't want to buy one, you can use a bread loaf pan. It will just make the caramels thicker, so when you cut them up you'll be cutting them into thinner strips and your caramels will be more rectangle shapes instead of cube shapes.
Nutrition
Thanks for stopping by! Before you go, be sure to check out a few of my most popular recipes!
This recipe was adapted from Soft'n'Chewy Caramels.

Jody
I put mine in a 9x5 loaf pan. I'm thinking I'd prefer lining the pan with parchment rather than foil.
The taste is great! They're a bit too soft when leaving them out so I'm keeping them in the fridge. I cooked mine to 250 degrees.
Cathleen
This is so perfect!! The recipe I typically use for homemade caramels makes so many, so I know I will be making this soon!!
Andrea
Had no idea it was this easy to make homemade caramels. Will be making these ASAP!
angela
I love having a non chocolate sweet for the holidays. This recipe turned out perfectly gooey and buttery. Caramel lovers will be in heaven. I used strips of parchment to wrap and twist the ends.
Toni
This is so good!! My whole family loved it!
Sara Welch
Looking forward to giving these out as gifts this year; like little bites of heaven! Delish!
L.S
So easy and delicious!
Have you tried using the ‘non-stick foil’ ?